
Register block styles in WordPress Gutenberg blocks
Adding custom styles to Gutenberg blocks is easy and at the same time very useful. All you need to do is to add a snippet in your functions.php or plugin file. Selecting a style to a block simply adds a class that you can style wherever you want!
Share
Adding a style to a block with php
Below is a code example that adds a style named ‘my-cover‘ to the cover block. This adds a class called ‘is-style-my-cover‘ to the block.
add_action('init', function() {
register_block_style('core/cover', [
'name' => 'my-cover',
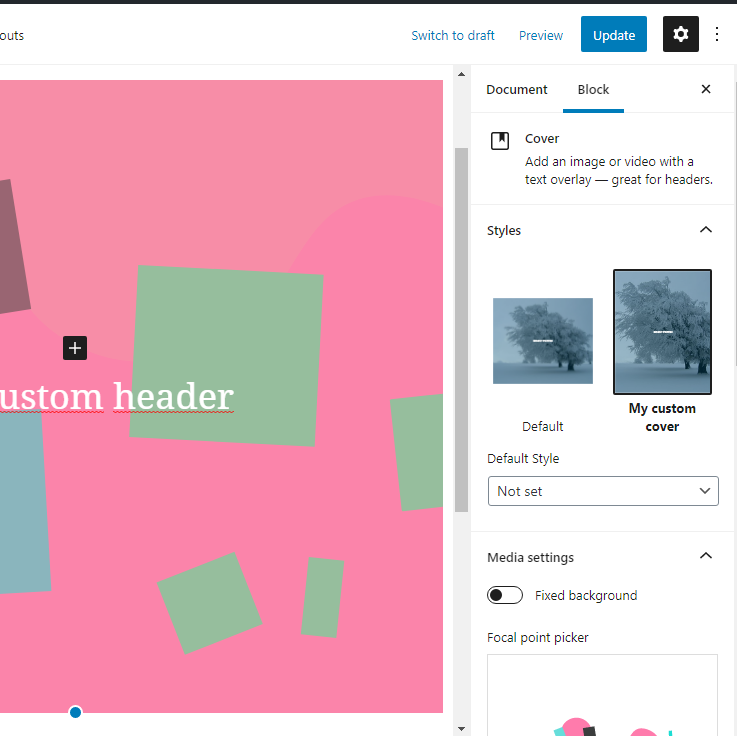
'label' => __('My custom cover', 'mydomain'),
]);
});Style it in your stylesheet:
.is-style-my-cover {
  background-color: pink;
  min-height: 80vh;
}
Add your styling to an admin stylesheet
In order to see your block styling in the editor, the WordPress editor also needs to read your css. Write a custom style sheet with the same styles (do this with scss & imports if you can!). Append the stylesheet to admin like this:
wp_register_style('my-block-styles', get_template_directory_uri() . '/css/my-custom-block-styles.css', false);The above code should also be added in the ‘init’-hook. Together with the block style snippet, your functions.php should look something like this:
add_action('init', function() {
	wp_register_style('my-block-styles', get_template_directory_uri() . '/css/my-custom-block-style.css', false);
	register_block_style('core/cover', [
		'name' => 'my-cover',
		'label' => __('My custom cover', 'mydomain'),
	]);
});
The style will show up here, along the WordPress default style:

More tutorials

How to Add ACF Filters to WordPress Feeds: A Step-by-Step Guide
Learn how to enhance your Query Loop Block by using custom Advanced Custom Fields (ACF) with the Filter Query Block Pro plugin.
Read more How to Add ACF Filters to WordPress Feeds: A Step-by-Step Guide

Top 10 Must Have Code Snippets to Supercharge Your WordPress Site
Ten essential code snippets that you can add to your functions.php file to enhance your WordPress site
Read more Top 10 Must Have Code Snippets to Supercharge Your WordPress Site
Understanding the WordPress Query Loop Block: What It Is and How to Use It
The Query Loop Block is a powerful feature in WordPress that allows users to display lists of posts or pages dynamically.
Read more Understanding the WordPress Query Loop Block: What It Is and How to Use It
